Table of Contents
Step 7 - Adding tasks styles and page layout
Tasks tyles
The tasks styles have been imported with the project template used at the very beginning of the tutorial. You will therefore find the following styles already defined:

Page layout
You will now adjust the page layout for PDF printing by clicking on the  button of the sidebar menu.
Adjust margins:
Margin adjustment allows you to include different elements on the deliverables, depending on your needs.
It is also possible to create columns in the header and footer.
Adjusting margins for later insertion of deliverables information
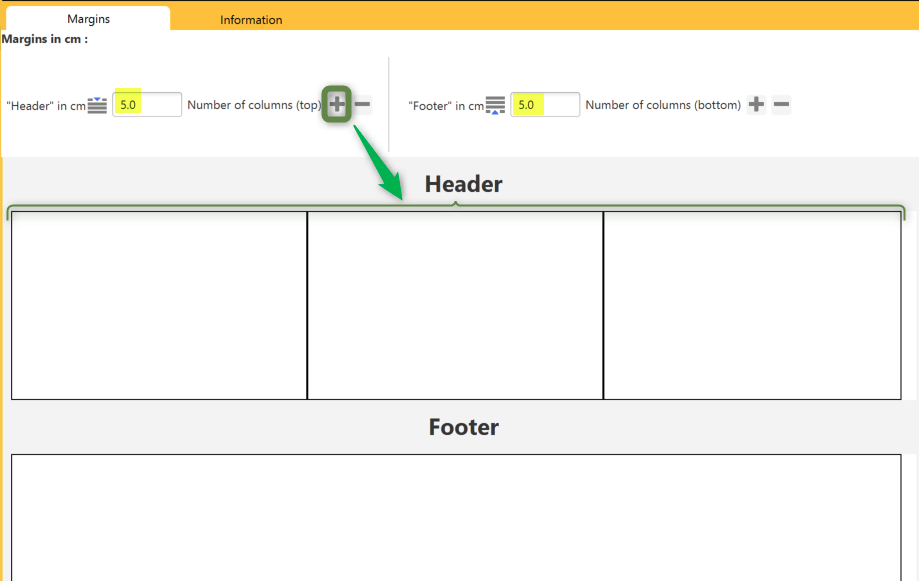
In order to leave space for inserting various information, margins of 5 cm can be defined at the top and bottom.
Using the add columns button, three columns can also be created in the header:
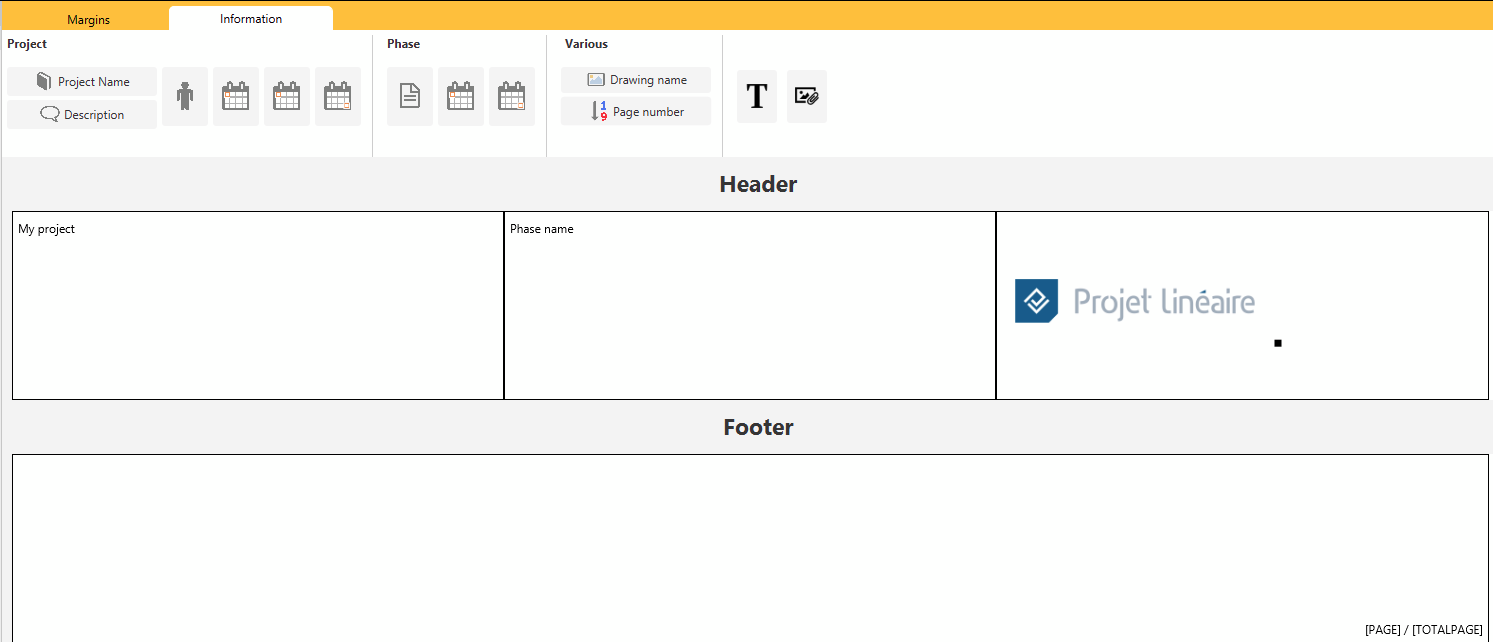
Click on the Informations tab to add dynamic fields and your logo:
This tab allows you to insert on the pages various information relating to the:
- Project: Name, Description, Person in charge, Start and end dates.
- Phase: Name, Start and End Dates.
- Board: Drawing name, and Page Number in the deliverable.
- Deliverable: Current date (of edition).
It is also possible to insert free text and images.
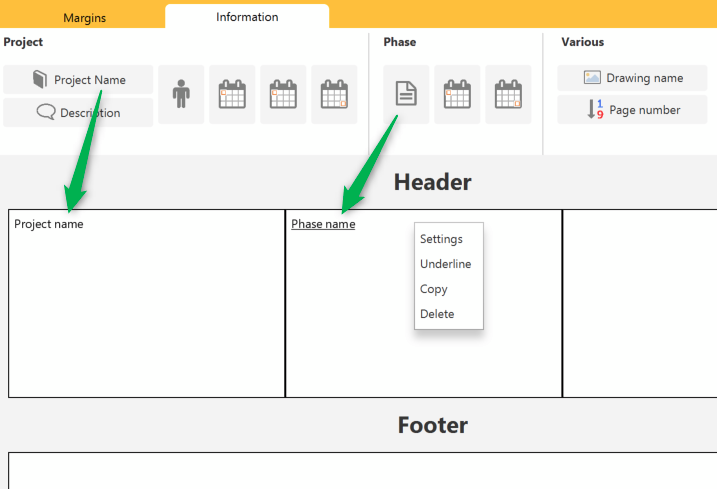
Example of inserting project and phase names, and page number
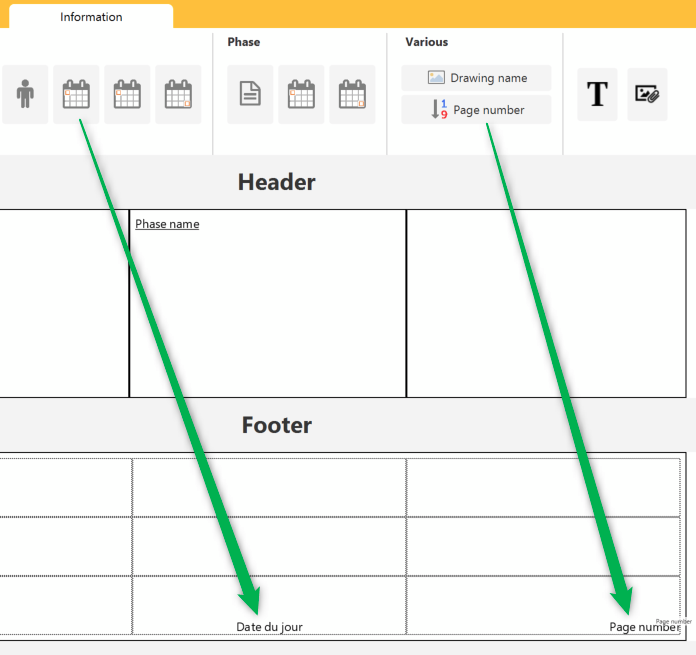
By means of a simple drag and drop, the fields “Project name”, “Phase name”, “Current date” and “Page number” will be integrated here in the upper and lower margins. For each field, right-clicking on the text allows you to customise the font, size and colour via the “Settings” option:
Note that the alignment is automatic in each of the 9 cells:
Inserting an image
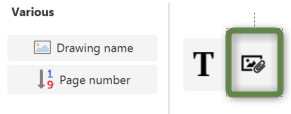
To add an image, proceed on the drag and drop principle to bring the button to the desired location, open a dialog window and search the image file.


