User Tools
Site Tools
Sidebar
Table of Contents
Tasks management
Adding tasks
Simple addition of a task directly to an area
Click on the area label (here “Main facilities”) :

The following window pops up:

Click on Add then fill in the fileds 'Name' and 'Style par défaut' of the Task details tab:

In the Dates tab set the Calendar, Start and End dates like below, then click on OK :

Your task is now associated with the area:

Creation of summary tasks
To create a summary task, click on the subproject in the left panel explorer of the Gantt chart, then click on the “Add a task” button:

In this example we'll create the following summary task:
- name: “Phase 1 : 1/2 ROUNDABOUT North”
- ID: '1'

After clicking on OK, you can see in the Gantt chart that the task has been created, but as a simple task.
To turn it into a summary task, simply drag and drop a child task into it. Here we'll do it with the “Construction facilities” task:

Batch import of tasks
With Phase Manager, it is possible to create your tasks directly or to import them from an XLS file through the clip-board.
How to import tasks
Open the file to be imported (in this case Demo Project V5.xlsx), then select and copy into the clipboard all tasks data header included:

Explanations:
1/ The summary tasks are imported first (IDs 2 → 6)
2/ Each task is referred to a summary task, via the “Parent” column.
3/ Each task must have a parent: in the absence of a summary tasky, the subproject (here PM-00001) is then mentioned, which is therefore here the parent of the summary tasks.
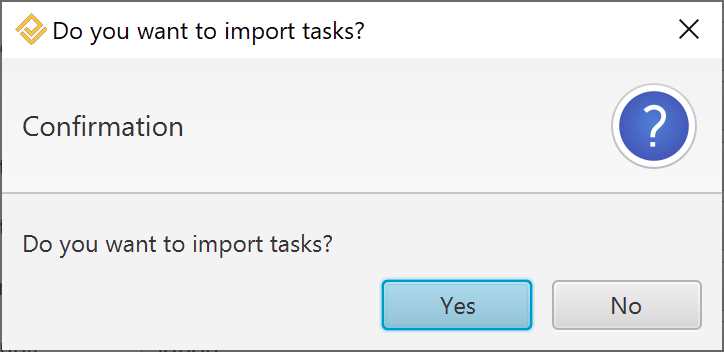
Go to the menu File > Import tasks/links .
In the import window that opens, insert the data from the clipboard by clicking on the Paste button:

The preview area shows you that the data has been read from the clipboard. You can then assign each column to a Phase Manager field, either manually or by importing an existing exchange profile.
Here we'll load the profile Import ProfileEN.pmx (delivered with your installation).
Click on the Load profile button:

Then browse your hard drive for the exchange profile and click on Open .
Then check that the display is as follow:

You see that the fields from you data set have been correctly assigned to the corresponding Phase Manager fields; you can click on the Import button at the bottom right of the window and then confirm the import :

Note on the warning window:
A window tells you that some fields have not been imported:this is informative, and concerns the empty fields “Area” and “Dates” for the summary tasks; Area having no meaning, and Dates are inherited from its child tasks:

After closing the import window, you can see that tasks have been imported, and that the WBS matching our imported phases has been created:

Multizone, impact, right-of-way (RoW) and execution mode
Phase Manager 3 enables extensive management of the RoW and impact of tasks. The example below illustrates those new functionalities by creating a daily sequential book.
The task 'RT V1 20+200 - 20+700' below is associated with two areas or axis, namely V1 and V2 :

Here are the details of the settings:
V2 axis :
- 'Impact : checked' → the axis is impacted by the task throughout its duration, even if it does not take place there → this impact will be materialized on our deliverable.
- 'Full axis vs KPs : Start and End distance are set' → the impact will only concern a part of the axis (between the distance points set).
- 'Execution : Fixe' → the impact is permanent on the entire segment of the axis throughout the duration of the task.
V1 axis :
- 'Execution : Mobile' → the segment occupied on the axis by the task will move (as it lasts 3 days, we will be able to see this progression on the 3 successive pages of the sequential book).
- 'Lenght Before / After : 0.1' → the task will have a 100 m right-of-way before and after the work (this right-of-way will also be displayed on the deliverables).
- 'Full axis vs KPs : Start and End distance are set' → the task takes place on the specified axis portion..
On the first two daily pages of the considered 3-day sequence, we can visualize:
- in yellow: the impact on axis V2
- in red: the task that is progressing on axis V1
- in grey: the Right-of-way of the task on axis V1
Day 1 :

Day 2 :

